
Boost Portrait Colors: Vibrance in Photoshop for Stunning Skin Tones
Discover how Photoshop's Vibrance adjustment layer can dramatically improve your portrait photography, adding life to colors while keeping skin tones authentic. This guide provides essential techniques for creatives.
By Rollan Bañez · August 2, 2026 · 7 min read
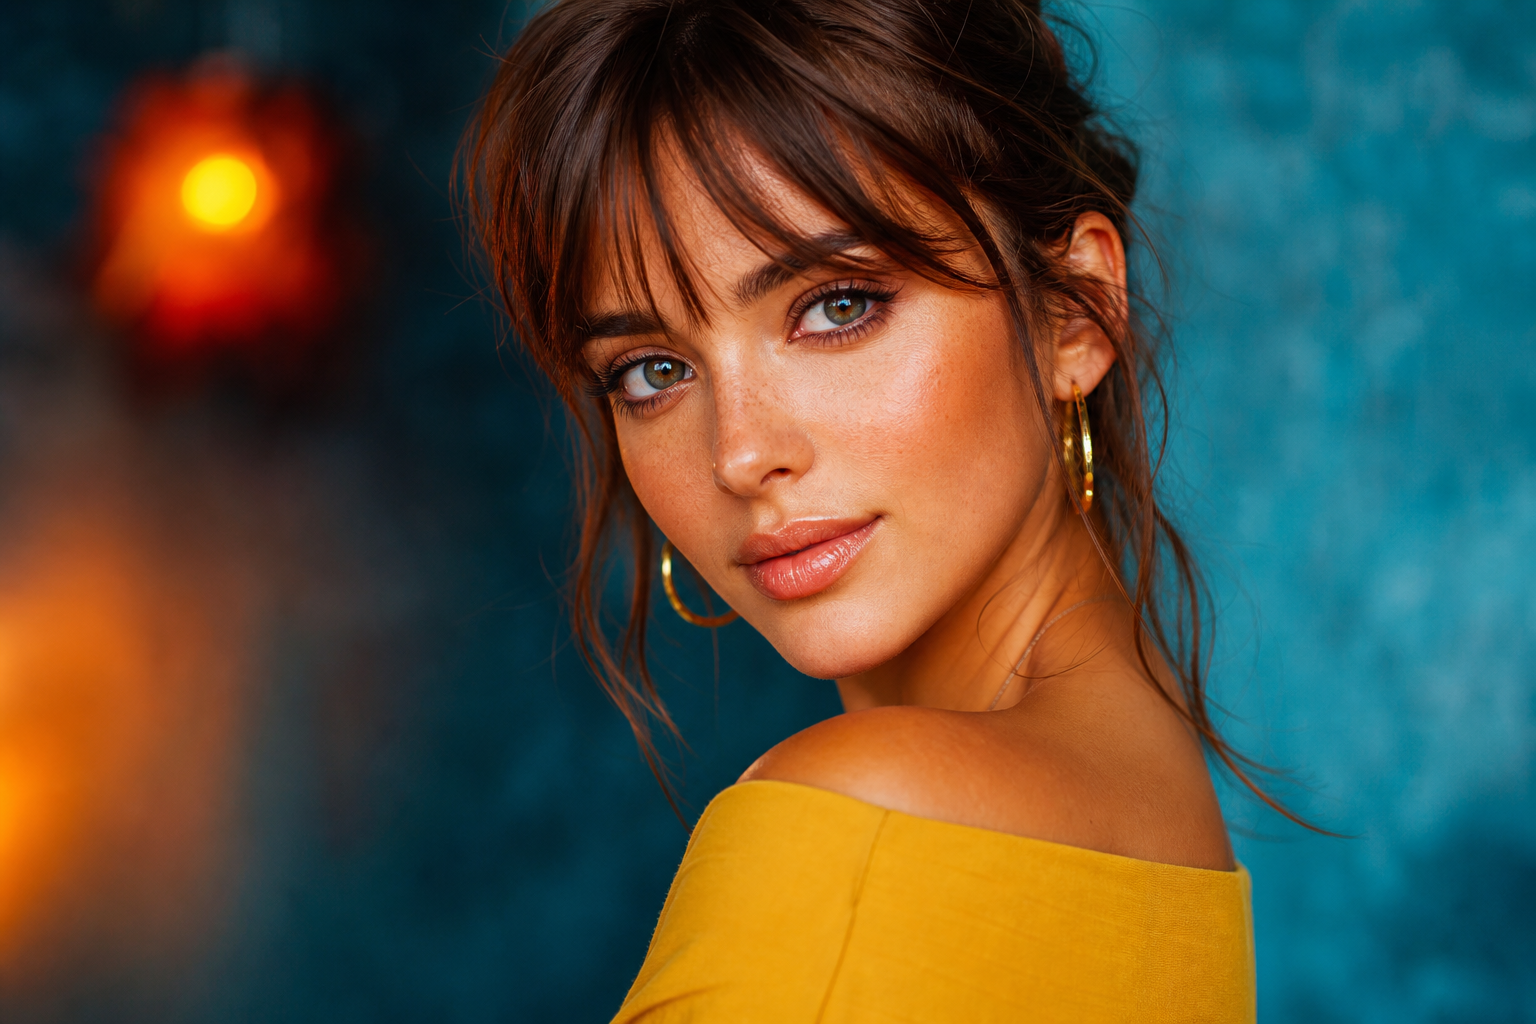
In the vibrant world of digital photography, capturing and enhancing a subject's essence is paramount. Yet, many aspiring photographers and graphic designers face a common dilemma: how to make colors pop without distorting the delicate nuances of human skin. Over-saturation can quickly turn a compelling portrait into an artificial-looking image, undermining its emotional impact.
This challenge is particularly acute when working with portraits, where authentic skin tones are critical to conveying realism and beauty. Creative professionals often seek tools that offer precision and control, allowing for impactful enhancements without sacrificing natural appearance. Enter Photoshop's Vibrance adjustment layer, a subtle yet powerful ally in this creative endeavor.
Understanding Vibrance vs. Saturation in Photoshop
Before diving into practical application, it's crucial to differentiate between Vibrance and Saturation. While both adjust color intensity, their methods are distinct, making Vibrance the preferred choice for portraits.
The Nuance of Vibrance
Vibrance intelligently increases the intensity of muted colors, leaving already saturated colors largely untouched. It also typically protects skin tones and other 'warm' colors from becoming overly aggressive. This selective approach makes it ideal for subtle, natural-looking enhancements.
Imagine a landscape photo with a dull sky but vibrant flowers. Vibrance would brighten the sky without pushing the flowers into an unnatural state. In portraits, this translates to richer clothing and background colors, while the subject's skin remains lifelike.
The Impact of Saturation
Saturation, on the other hand, applies a uniform increase in color intensity across all colors in the image, regardless of their initial saturation level. This can quickly lead to 'color clipping,' where colors become so intense they lose detail, appearing garish and unrealistic.
For portraits, a heavy hand with saturation can result in ruddy, artificial-looking skin tones, undermining the natural beauty of the subject. It’s a powerful tool but requires careful application, often reserved for specific creative effects rather than general enhancement.
Applying the Vibrance Adjustment Layer for Portraits
Using the Vibrance adjustment layer effectively in Photoshop is straightforward, yet it offers profound control over your portrait's color palette. This non-destructive editing method ensures your original image data remains intact, allowing for endless adjustments.
Step-by-Step Application
- Open your portrait image in Adobe Photoshop.
- Navigate to the 'Adjustments' panel, or go to
Layer > New Adjustment Layer > Vibrance... - A new Vibrance adjustment layer will appear above your image layer in the Layers panel.
- In the Properties panel, you'll find two sliders: 'Vibrance' and 'Saturation'.
- Begin by gradually increasing the 'Vibrance' slider. Observe how the less saturated colors, such as those in clothing, backgrounds, or eyes, become more prominent while skin tones retain their natural appearance.
- If needed, a very slight increase or decrease in the 'Saturation' slider can further fine-tune the overall color intensity, but proceed with caution here.
Experimentation is key. Every portrait is unique, and the optimal settings will vary depending on lighting, original color balance, and desired aesthetic. Remember, the goal is enhancement, not drastic alteration.
Why Non-Destructive Editing Matters
Employing adjustment layers is a cornerstone of professional photo editing workflows. This approach means you're never permanently altering the original image pixels.
Should you decide later that the vibrance is too high, you can simply adjust the slider again, or even delete the adjustment layer entirely, reverting to the original image. This flexibility is invaluable for creative experimentation and iteration.
Advanced Techniques and Best Practices
While the basic application of Photoshop Vibrance is simple, advanced techniques can elevate your portrait editing to a professional level. These strategies build upon the foundational understanding of the tool.
Targeted Adjustments with Masking
Sometimes, you might want to apply Vibrance to only specific parts of your portrait. This is where layer masks become indispensable.
Every adjustment layer comes with a built-in layer mask. By painting with black on this mask, you can selectively hide the Vibrance effect from areas where it's not desired, such as specific skin patches or elements you want to keep muted. Conversely, painting with white reveals the effect. This precise control allows for highly localized color enhancements.
Combining with Other Adjustment Layers
Vibrance works harmoniously with other Photoshop adjustment layers to create a comprehensive look. Consider pairing it with:
- Levels or Curves: To fine-tune contrast and tonal range, ensuring your colors have a solid foundation.
- Hue/Saturation: For very specific color shifts, perhaps to subtly alter the hue of a background element without impacting the subject.
- Color Balance: To correct overall color casts or introduce specific creative color grading.
By stacking these layers, you build a powerful, customizable editing workflow. Each layer contributes to the final image, offering granular control over every aspect of color and tone.
Real-World Impact and Career Growth
Mastering tools like Photoshop's Vibrance adjustment layer is not just about producing better images; it's about building a robust portfolio and enhancing career opportunities in the creative industry.
Employers and clients consistently seek candidates with a strong command of Adobe Creative Cloud applications. Proficiency in nuanced color correction demonstrates an understanding of visual aesthetics and technical skill. This can be a significant differentiator in competitive fields like editorial photography, advertising, and digital content creation.
At Creative Nation Academy, our focus is on equipping students with these practical, in-demand skills. Understanding how to expertly use tools like Photoshop Vibrance contributes directly to creating polished, professional work that stands out in any portfolio. This expertise not only elevates individual projects but also opens doors to exciting freelance opportunities and full-time creative roles.
Key Takeaways
- Photoshop Vibrance selectively enhances muted colors, preserving natural skin tones.
- Saturation increases all colors uniformly, risking unnatural skin and color clipping.
- Always use Vibrance as a non-destructive adjustment layer for maximum flexibility.
- Utilize layer masks to apply Vibrance to specific areas of your portrait.
- Combine Vibrance with other adjustment layers like Levels or Curves for comprehensive color grading.
- Mastering nuanced color correction like Photoshop Vibrance boosts your portfolio and career prospects.
Conclusion
The Photoshop Vibrance adjustment layer is an indispensable tool for any photographer or designer working with portraits. Its intelligent approach to color enhancement allows for images that are both visually striking and authentically rendered, particularly when it comes to the crucial aspect of skin tones. By embracing this powerful feature, creatives can elevate their work, producing captivating portraits that resonate with viewers.
As the creative landscape evolves, the demand for finely tuned visual content continues to grow. Investing time in mastering such foundational yet impactful tools ensures that your skills remain sharp and your work consistently meets professional standards. Explore further techniques and refine your skills by attending one of our upcoming workshops and events.
Frequently asked questions
- Can I use Photoshop Vibrance on non-portrait photos?
- Yes, Photoshop Vibrance is highly effective for enhancing colors in landscapes, product photography, and any image where you want to boost vibrancy without over-saturating existing strong colors or affecting specific tones like greens and blues too aggressively.
- Does Vibrance always protect skin tones perfectly?
- While Vibrance is designed to be more gentle on skin tones than Saturation, extreme adjustments can still have an impact. It's always best to make subtle adjustments and observe the results carefully, especially on a calibrated monitor. Using a layer mask can provide additional protection for specific skin areas if needed.
- Should I use Vibrance or Saturation first?
- For general color enhancement, especially in portraits, it's usually best to start with Vibrance. This provides a natural-looking boost. If after adjusting Vibrance you feel the image still needs a slight, overall color intensity increase, you can then try a very subtle Saturation adjustment. However, often Vibrance alone is sufficient.